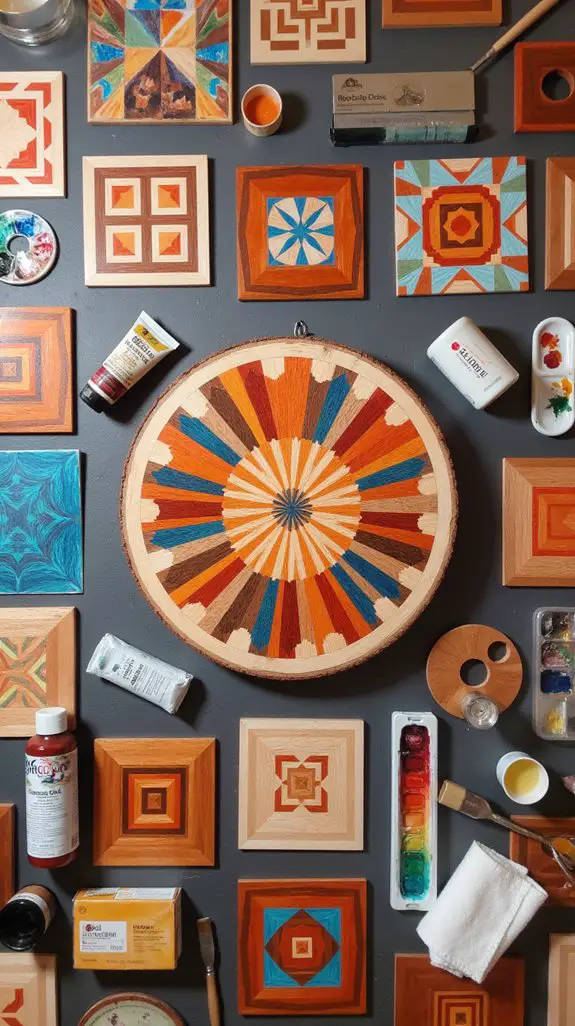
Looking to jazz up those bare walls? I totally get that!
When I first tried my hand at DIY geometric wood slice wall art, I was all nerves. But guess what? It was a game-changer!
I picked out some funky wood slices and went at it with sketches of my favorite patterns. The key? Sanding and cleaning those babies before diving in!
I experimented with painting techniques—using sponges and even throwing in a little splatter for good measure. It was so liberating to let the creative juices flow!
Once I was happy with my masterpieces, I found some quirky ways to hang them. They shine bright now, just like how we at Corala Blanket promote better sleep.
Have you tried this craft yet? What are you waiting for? Let’s get crafty!
Table of Contents
Quick Takeaways
- Select unique wood slices in varying shapes and sizes to create visual interest in your artwork.
- Design your geometric pattern by sketching ideas inspired by nature or favorite colors, focusing on color harmony.
- Prepare the wood by sanding edges, cleaning with a damp cloth, and applying protective wood treatment to enhance durability.
- Experiment with painting techniques like blending, texture application, and splatter to add depth and creativity to your pieces.
- Choose an effective hanging method ensuring wall safety, while arranging slices thoughtfully for visual balance and flow.
Materials Needed for Your Geometric Wood Slice Art
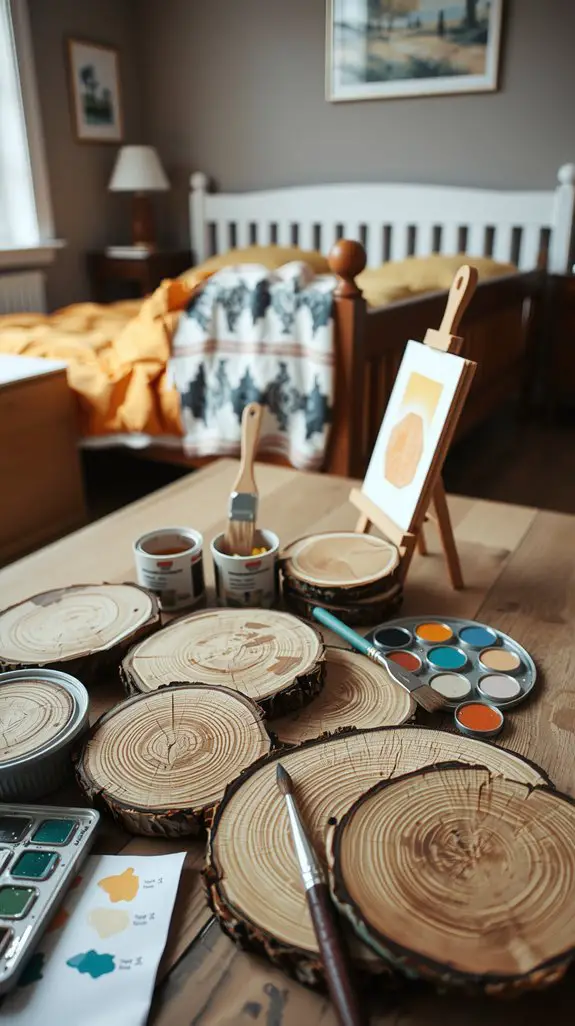
When it comes to creating your own stunning geometric wood slice wall art, having the right materials is half the battle.
First up, let’s talk about wood slice sourcing. You want slices that are sturdy and of course, beautiful! Natural textures add depth, so keep an eye out for unique grains.
Next, choose your color palette wisely. Are you drawn to warm, earthy tones, or do vibrant colors speak to you?
Choosing the Right Wood Slices
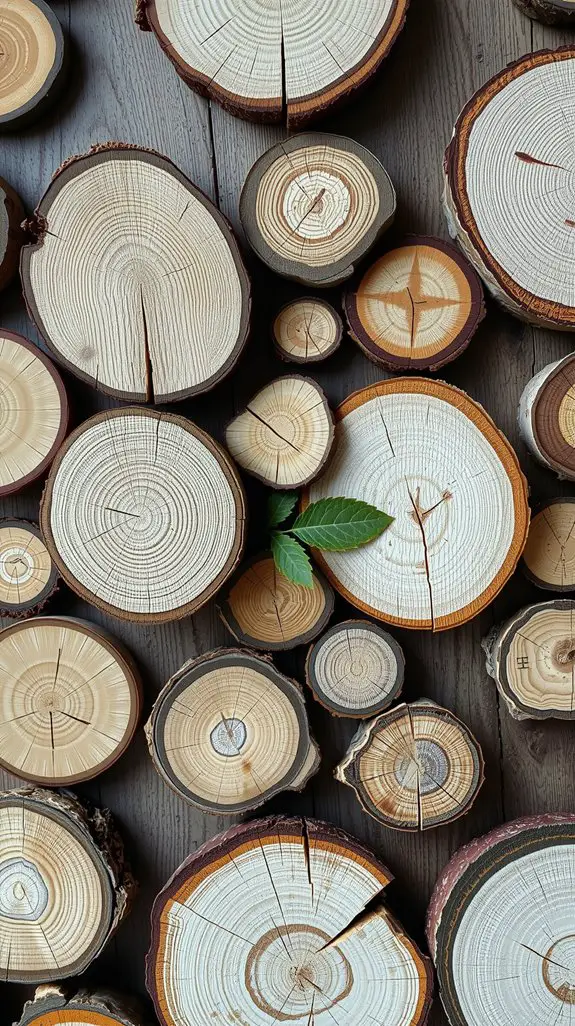
Choosing the right wood slices can make or break your geometric wall art masterpiece.
When I started, I’d no idea about selecting sizes or suitable types of wood.
It’s essential to pick slices that complement each other, so your design truly pops!
Think about your space—do you need larger pieces for impact or smaller ones for complex details?
Softwoods like pine are easy to work with, while hardwoods like oak add durability.
Mix and match for a unique look! Additionally, opting for organic wood round compositions can enhance the overall aesthetic of your artwork.
Designing Your Geometric Pattern
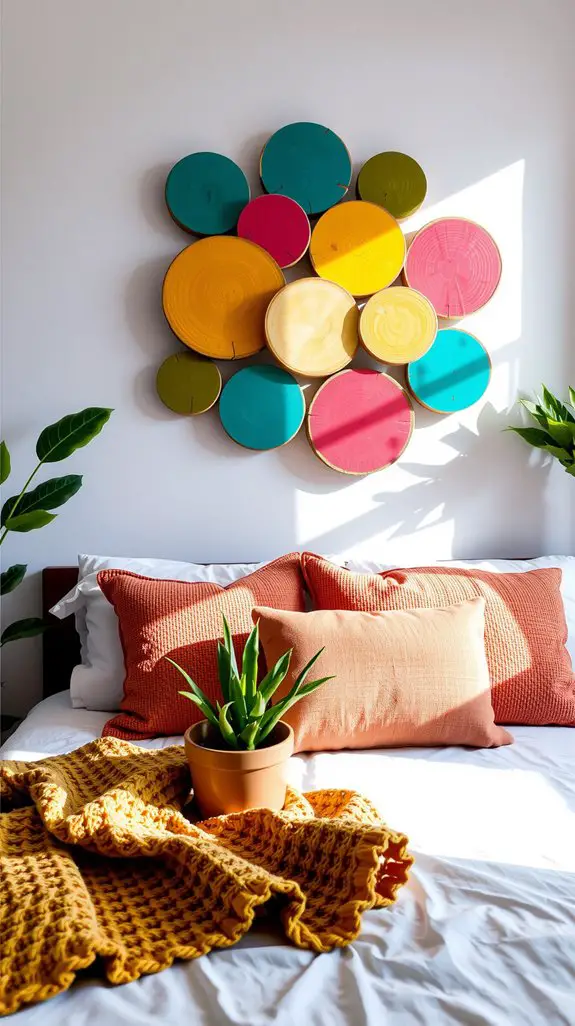
While you might think designing your geometric pattern is all about being precise, it’s also a chance to release your creativity and let your imagination run wild!
Picture this: vibrant geometric shapes dancing across your wall, telling a story of color harmony based on color theory.
What inspires you? Maybe it’s nature, or even your favorite team’s colors!
Start sketching ideas and don’t be afraid to mix bold colors with softer tones. Incorporating elements like Scandinavian wooden disc decor can enhance the overall aesthetic and create a cohesive look in your space.
You’re crafting something special not just for yourself, but for those who’ll admire your work.
Preparing the Wood Slices
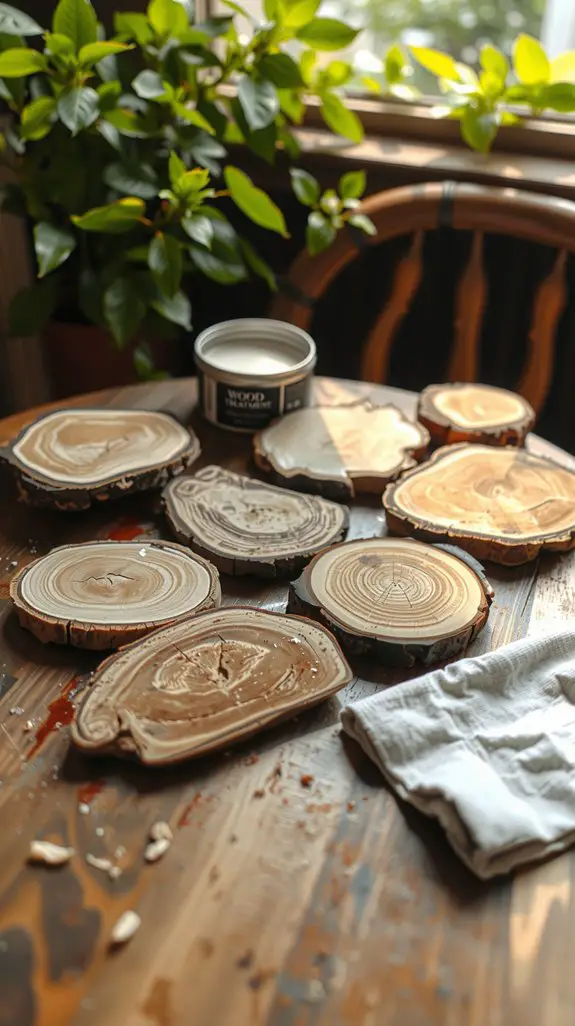
Before we jump into the nitty-gritty of painting and decorating, let’s get those wood slices ready for their big moment!
First, your wood treatment and slice selection are essential. Here’s how to prep:
- Choose slices with unique shapes and sizes
- Sand the edges to remove any rough spots
- Clean off sawdust and dirt with a damp cloth
- Apply a wood treatment for protection
- Let the slices dry completely before moving on
Think of this step as giving your wood slices a spa day – they deserve it, right? Adding a touch of nature with minimalist birch decor can elevate your design and create a calming atmosphere.
With these preparations, they’ll be primed and ready for artistic magic!
Painting and Staining Techniques
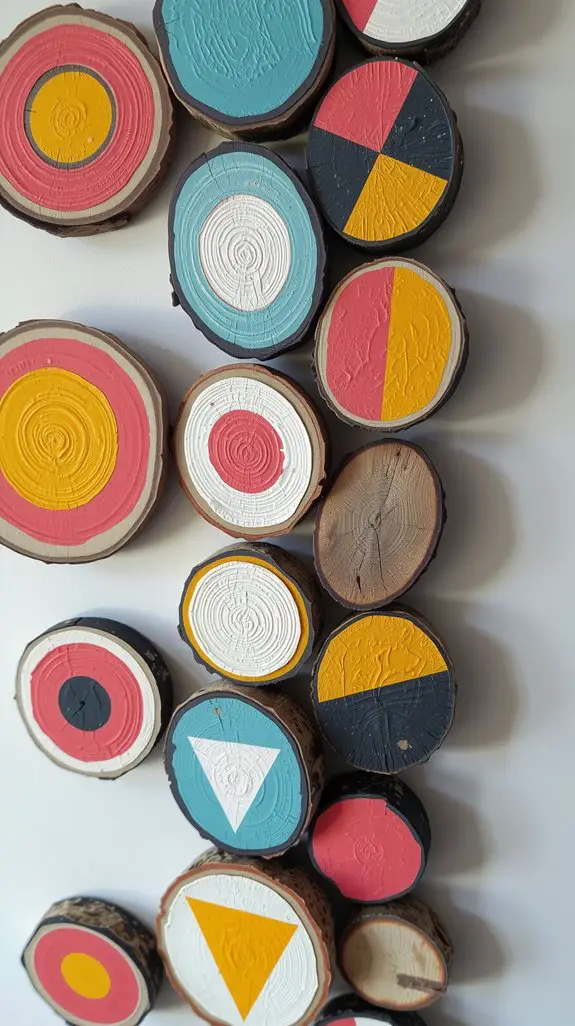
Now that your wood slices are all prepped and pampered, it’s time to plunge into the fun world of painting and staining techniques!
You’ll love experimenting with color blending techniques. Try layering different shades; it creates beautiful depth that’ll wow anyone who sees it.
For added flair, explore texture application methods. You can use sponges or brushes to get playful patterns.
Have you ever thought about how a little splatter paint could elevate your piece?
Remember to let your creativity flow—no one can serve others better than you when you’re truly inspired!
Enjoy the process; your masterpiece awaits!
Assembling Your Wall Art
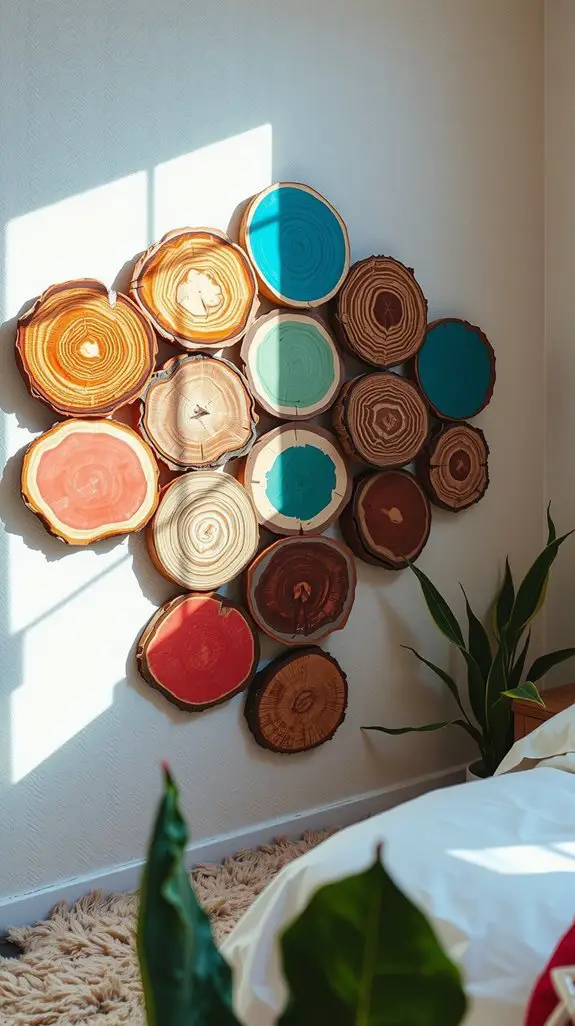
As the colors bring your wood slices to life, it’s time to think about how you’ll arrange them on your wall.
Choosing placement is essential, and trust me, it’s more fun than it sounds! Here’s how I tackle color coordination:
- Arrange by color for visual harmony
- Use a geometric pattern to add interest
- Mix sizes for a dynamic look
- Keep balance in mind to avoid chaos
- Consider the room’s flow for a seamless feel
Securing Your Art on the Wall
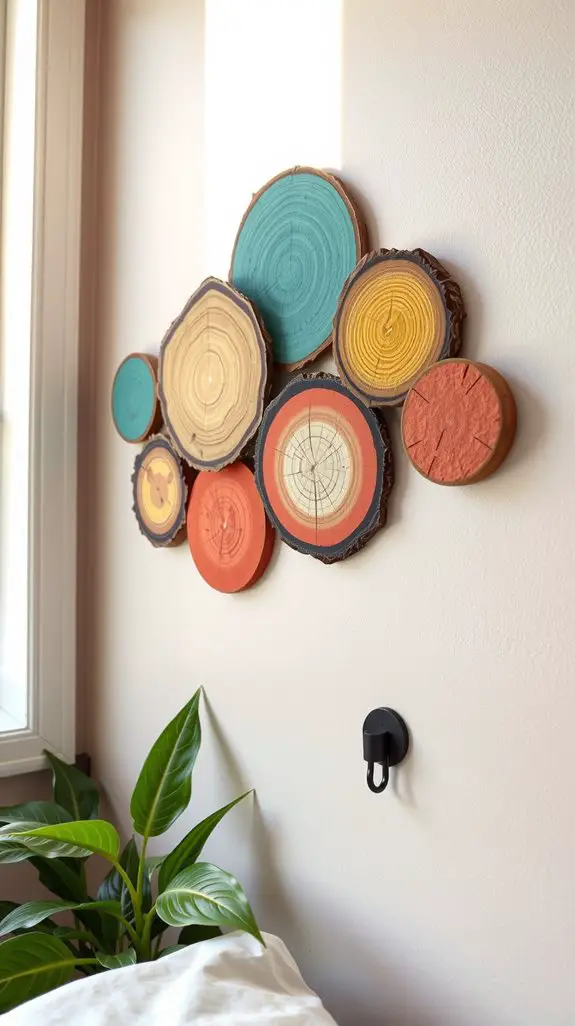
Whether you’re a DIY newcomer or a seasoned artist, securing your geometric wood slice wall art is where the magic really happens!
You’ve put your heart into crafting, so let’s make sure it stays safe.
Consider using various hanging methods like adhesive strips or picture hooks; they work wonders without causing wall damage.
And don’t forget wall protection! A piece of felt behind each slice can prevent scratches.
Imagine stepping back, only to see your creation shining on the wall—doesn’t that feel great?
With these simple steps, your art won’t only be secure but also a delight for everyone who sees it!
Adjusting for an Eye-Catching Display
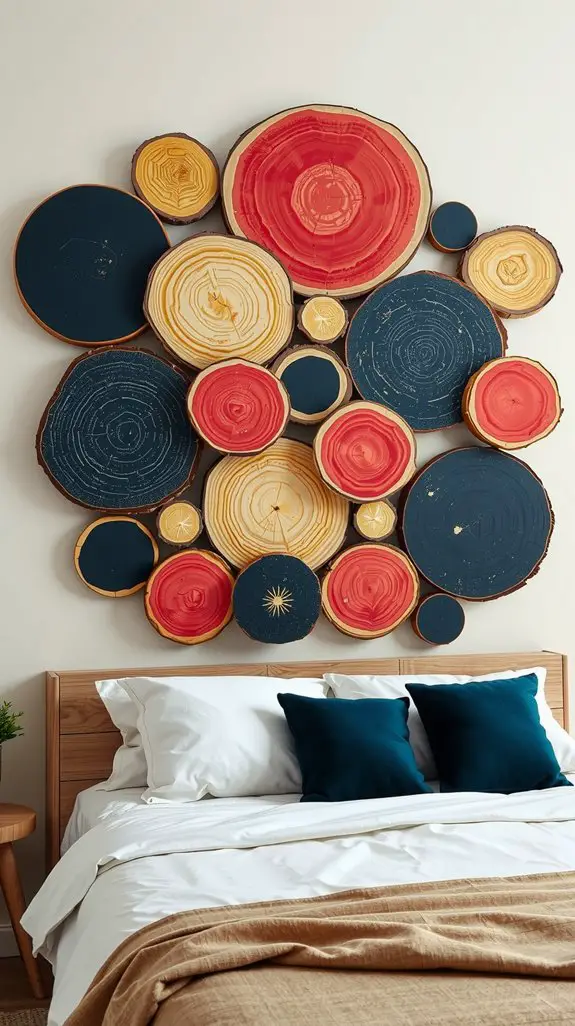
How can I turn my geometric wood slice wall art into a showstopper? It’s all about the right color combinations and ensuring pattern balance.
Here are some tips to make your art pop:
- Use contrasting colors to grab attention
- Arrange slices in fun, unexpected patterns
- Mix different sizes for a dynamic look
- Add textures like paint or wood stain
- Incorporate metallic accents for sparkle
Your wall art shouldn’t just fill space, but serve as a conversation starter.
Elevate your space with wall art that sparks conversation and inspires creativity.
With these tweaks, you can create a stunning display that’ll surely impress family and friends.
Let’s get creative!
Tips for Maintaining Your Wood Slice Art
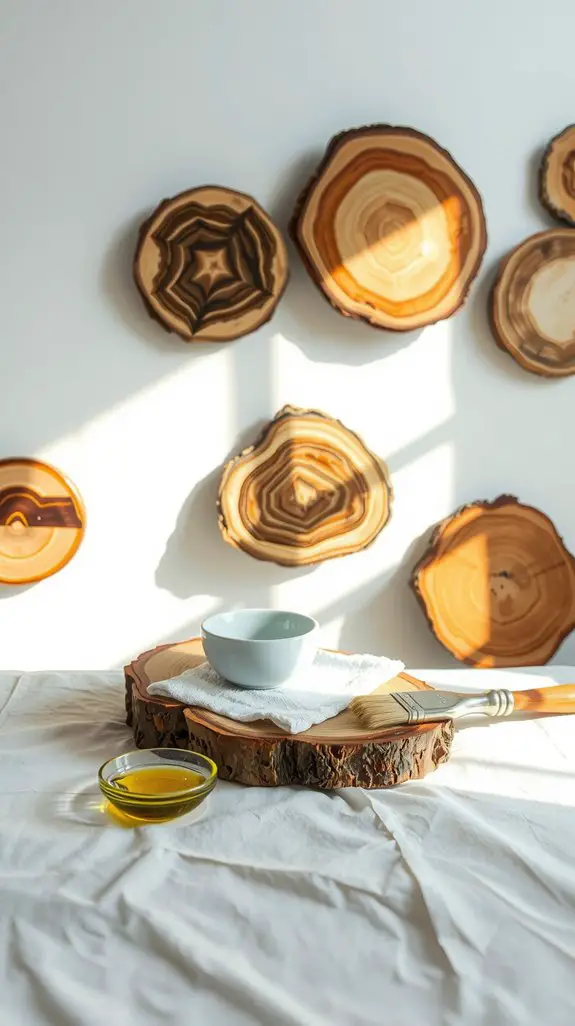
Maintaining your wood slice art doesn’t have to feel like a chore—after all, these beautiful pieces deserve a little love to keep shining bright!
For wood maintenance tips, I recommend dusting regularly with a soft cloth.
If your art starts looking dull, a simple coat of mineral oil or beeswax can work wonders!
Explore different coating finishes like polyurethane for added protection against moisture and scratches.
Also, keep them away from direct sunlight to prevent fading.
Got a favorite piece? Give it extra care—after all, you wouldn’t let your best friend wither away, right?
Your wood slice art deserves the same!
- What Makes Tree Ring Art So Mesmerizing? - October 12, 2025
- DIY Geometric Wood Slice Wall Art Pattern Tutorial - October 12, 2025
- 15 Timeless Round Wood Wall Art Patterns - October 12, 2025

